I had so much fun creating the new agave bed I told you about a few days ago (“The New Agave Bed,” August 9, 2020), I decided to do another one. The patch of zebra grass at the back of the garden had not looked good for the last few years. I couldn’t keep it wet enough to flourish, and this summer in particular it was looking pretty sad, thin and brown, dry and withered in the heat. I had some agaves left over from the original new bed, so I thought why not dress up this area, too?
As always, I had help and company from Mari as I worked. She thought taking out the zebra grass was a good idea, too. The loose dirt was much easier to dig a bed in.
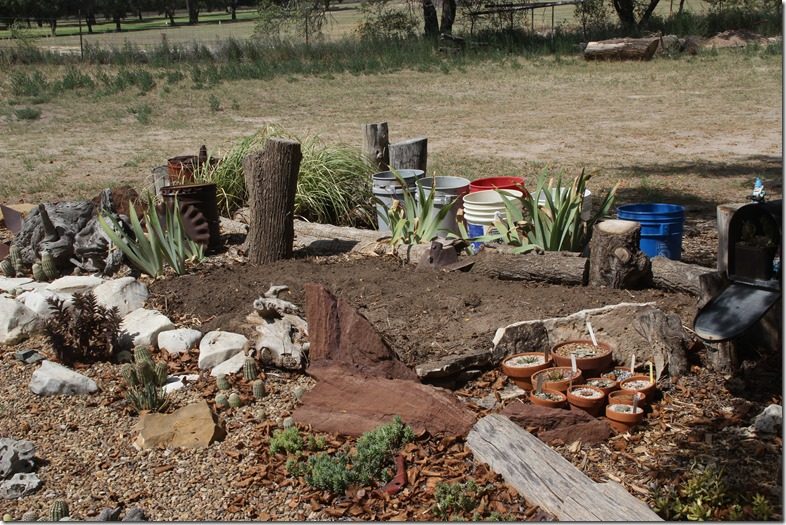
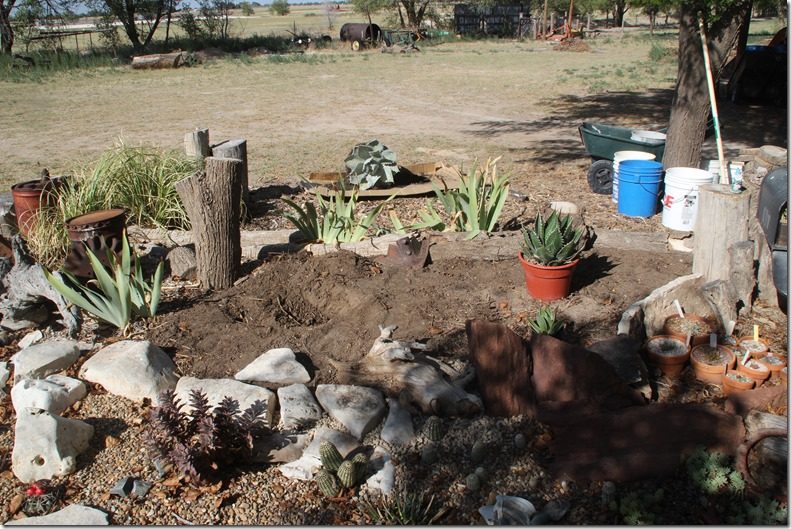
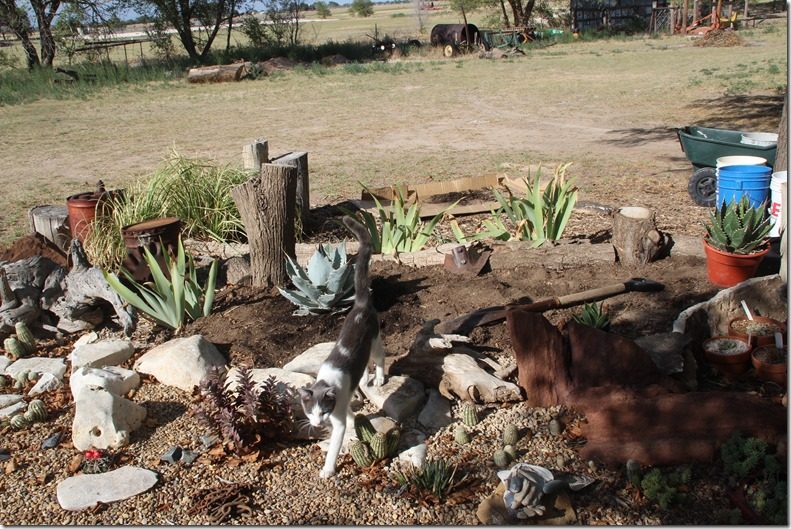
I left the pampas grass in the left-hand corner as it isn’t quite as hard to keep green. At least I left it for now. In a year or two, it may come out as well. I left the iris, too, as they add a different texture and a touch of color, purple, in the spring, which is nice. But some of them may come out later. All the zebra grass is out of the bed in this picture, which looks messy because of all my buckets in the background. Tools for the job.
I hauled in dirt from the compost pile with the modified golf cart again, which was a real help. So glad Bill thought to have it modified for all my gardening projects. After enough dirt was added, it was time for the agaves.
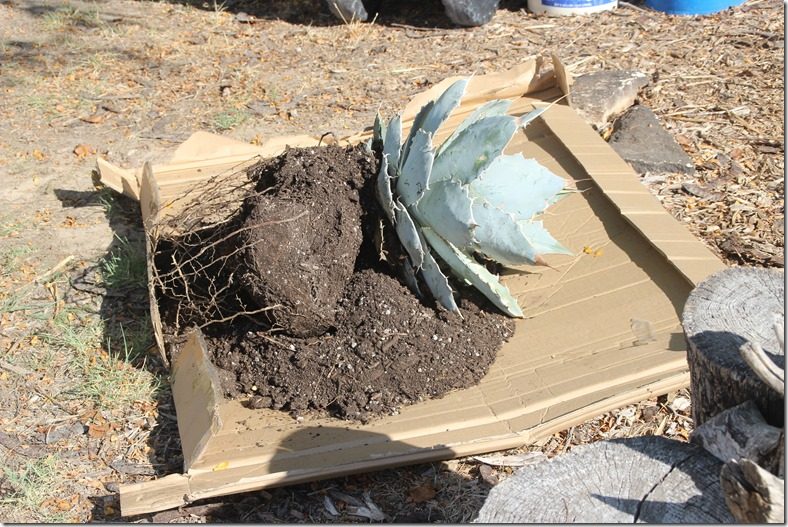
I bought an unidentified agave at Lowe’s that was different to anything I had. It was in a very tall pot which would not ride well nor fit in the car like it was, so plant manager Vera graciously had the pot cut open and found a large piece of cardboard to put it on to haul it home. It fit in the trunk and rode just fine.
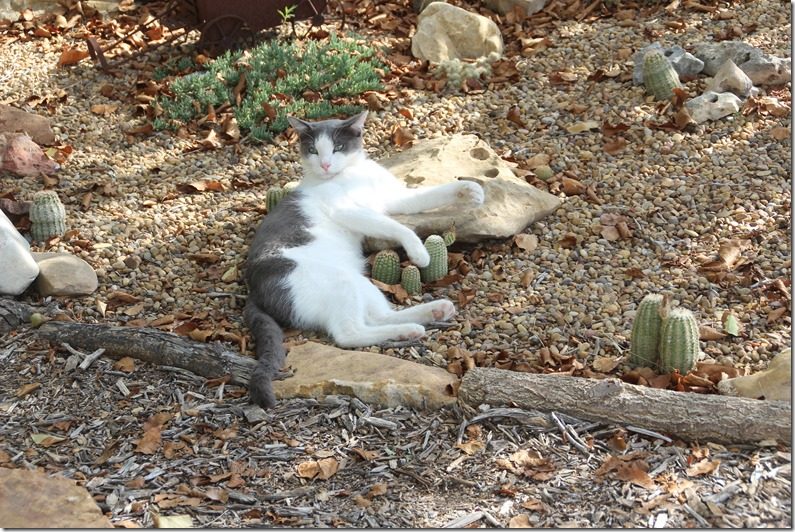
Frosty showed up to help, too.
These cats have no fear of cactus! They never seem to hurt any of the plants and never walk away with spines in their feet or fur.
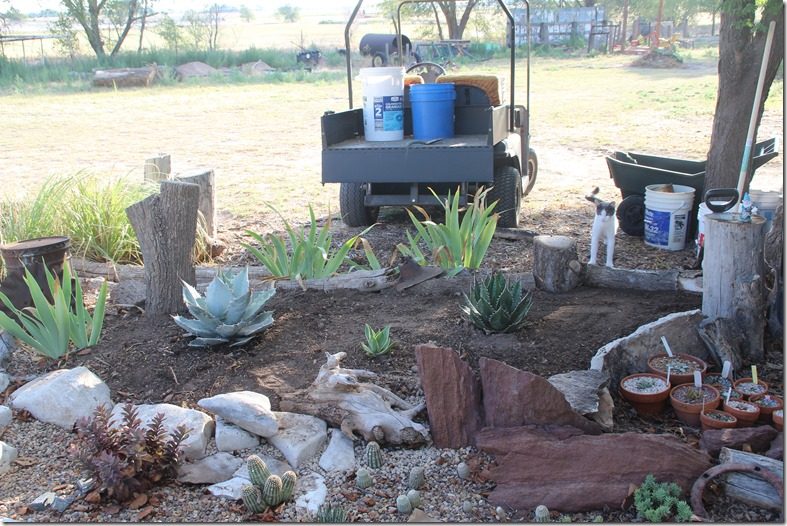
Here’s a shot of the modified golf cart, Frosty, and the agaves planted.
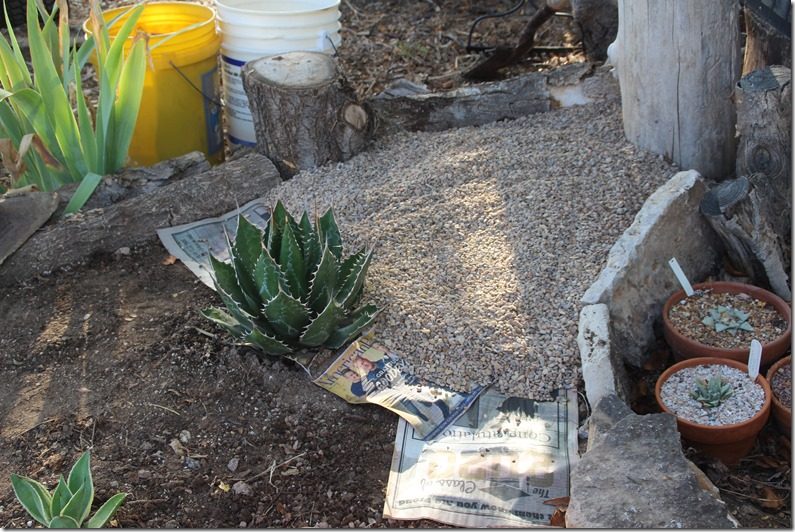
After the three I chose were planted, it was time once again for the top dressing, pea gravel on top of newspaper. I have talked about doing this in several blogs, but in case you missed the details, let me remind you to wet the paper before laying it out because it stays put better and doesn’t blow away. I slip a bundle of newspapers into a five-gallon bucket about half full of water and the papers soak it up. Also be sure to use nice thick, whole sections of paper and overlap them well.
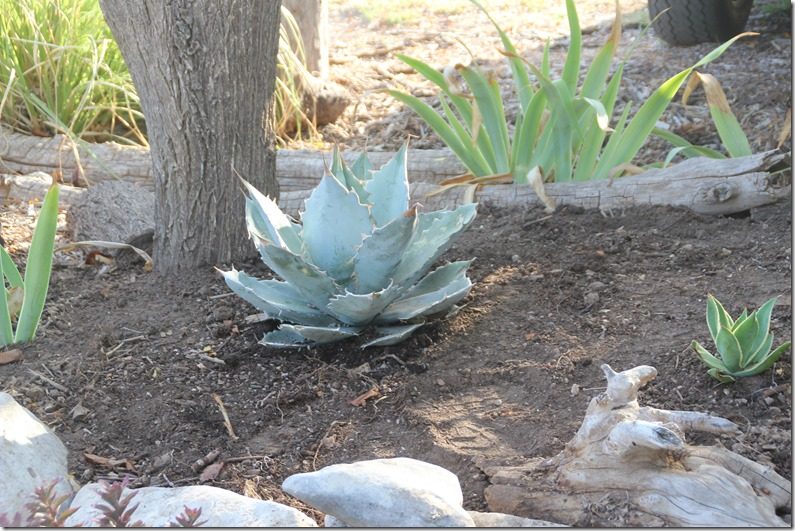
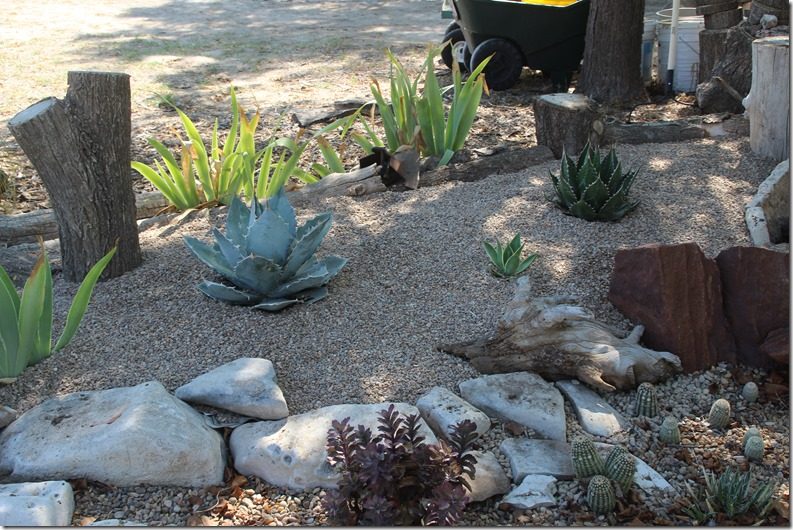
I chose three specimens that were very different from each other, and three was just about all that would fit. Even then, I suspect I put them too close together. But here they are.
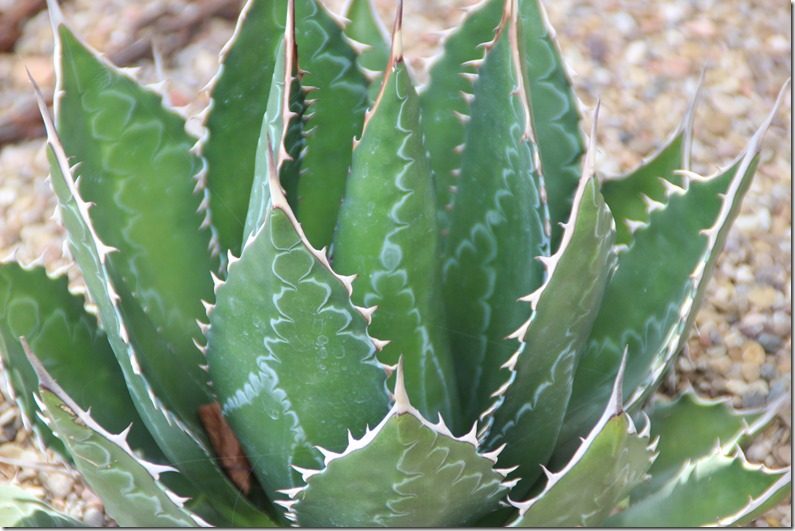
The one I bought in Kyle for the first agave bed, thinking it would be different to what I had was an Agave montana v. Baccarat, but aside from being an older and bigger plant, it looks pretty much the same as the smaller one in the other bed. Time will tell if it is much different from the first one. It will be one of the larger plants as it matures, but will have those indentions in the leaves that make such interesting patterns, so I don’t care that I have two now.
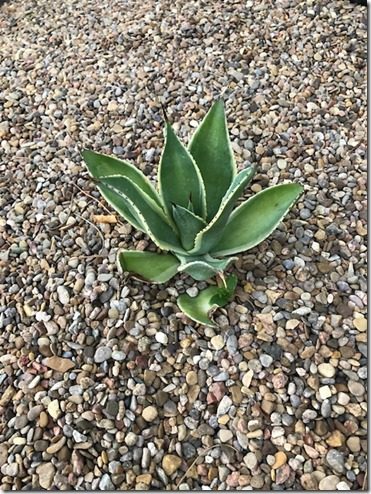
This Agave celsii multicolor I just happened upon by accident at Wal-Mart and was surprised they had something of this nature for sale. This one will be medium to large as it grows, and I realize now it won’t have enough room.
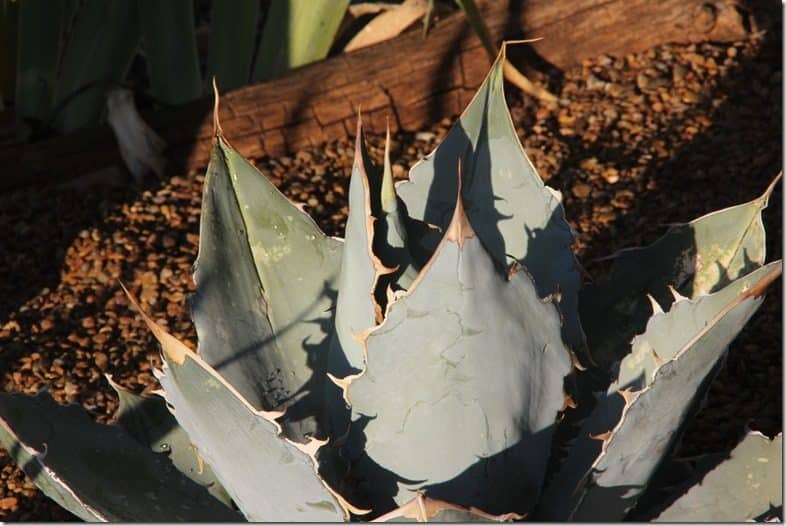
Then there is the unidentified one from Lowe’s. I checked my agave book and the closest I could come to an ID is Agave potatorum, or Agave colorato, but I am not sure either is correct. I may have to change its identification in the future. I really like the gnarly teeth along the edges of each leaf. It also has some light pattern indentations on each leaf, and I like its gray-blue color.
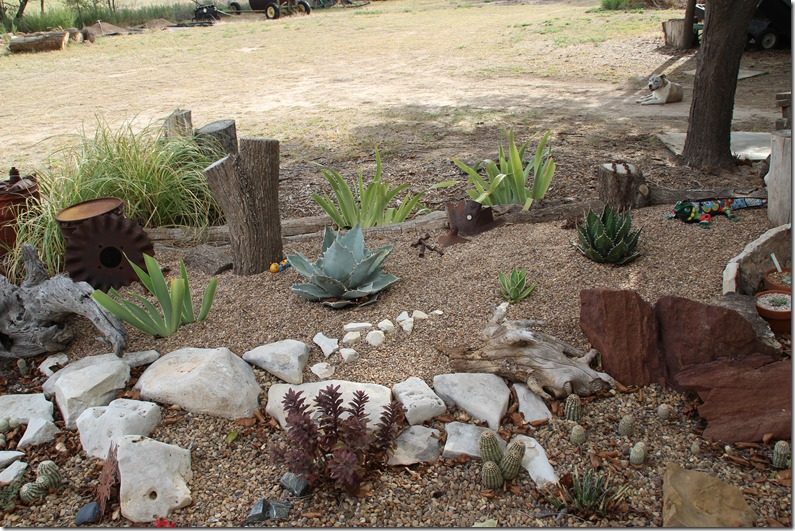
Here is the finished bed.
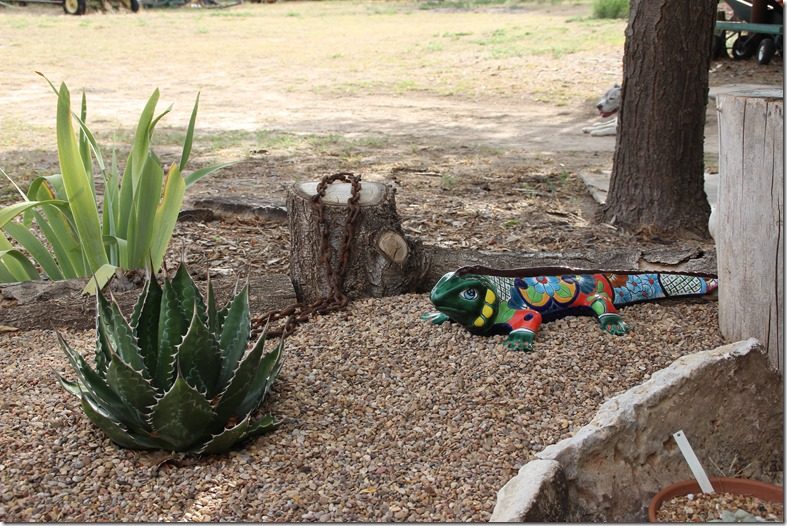
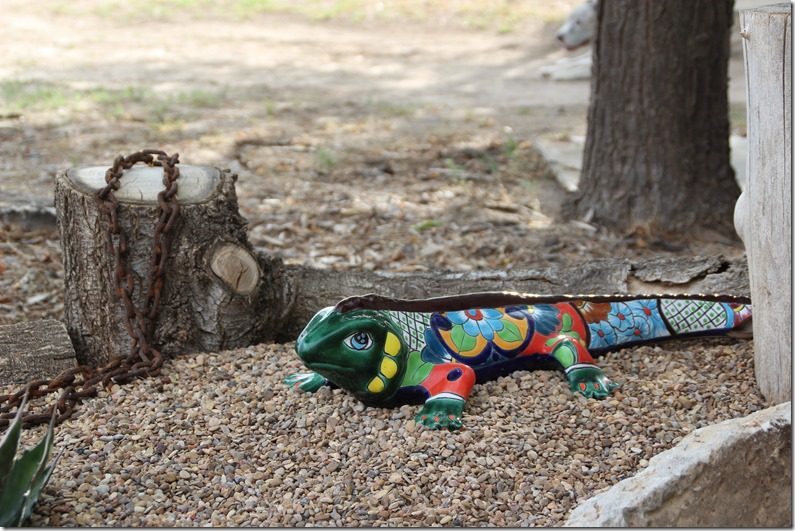
This one needed a little something more, so the Talavera iguana seemed like a good idea. I found this lizard in the half-off bin at Sam’s Nursery in Kingsland with the tip of his tail broken, but he was just too good to pass up. All you have to do is position him where the broken tail doesn’t show, and he looks fine. He had been in this bed with the zebra grass, but in a different location, and he shows up better now.
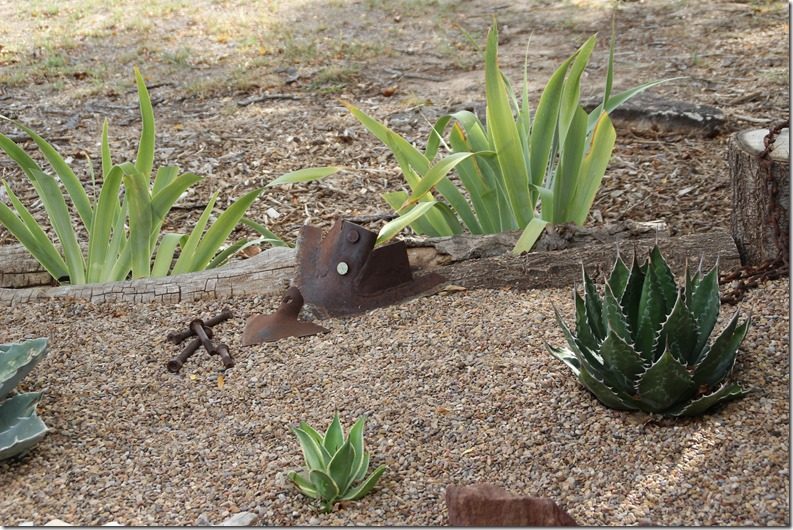
Then I decided to add a couple of rusty things.
And after also adding some white rocks and a Talavera caterpillar by the tree stump, I think I am done.
This renewed bed definitely looks more appealing than the original with the grass. I am pleased with the new look.
And I am just sure the iguana likes his newly decorated home.

Recent Comments