I have a few outdoor cactus and agaves that require some protection in the winter, and I have used a variety of covers for them: five-gallon buckets turned upside down, the heavy-duty cardboard boxes that milk jugs are shipped in, used afghans and throws bought at the thrift shop, old heavy terry-cloth towels and bath mats. All of these have been effective, but with a few problems, mostly having the right sizes and cactus spines getting caught in the threads of the afghans and terry cloth towels.
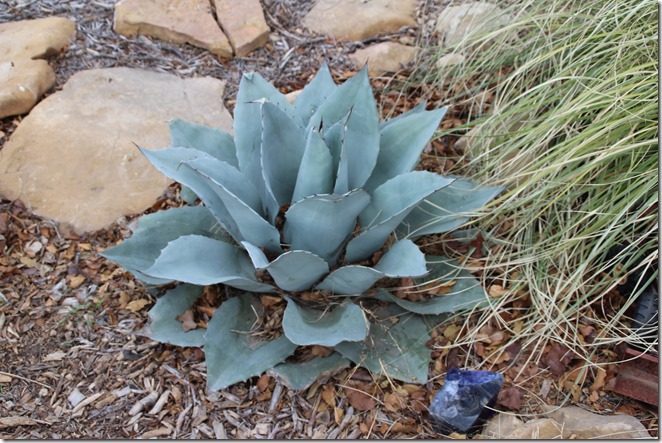
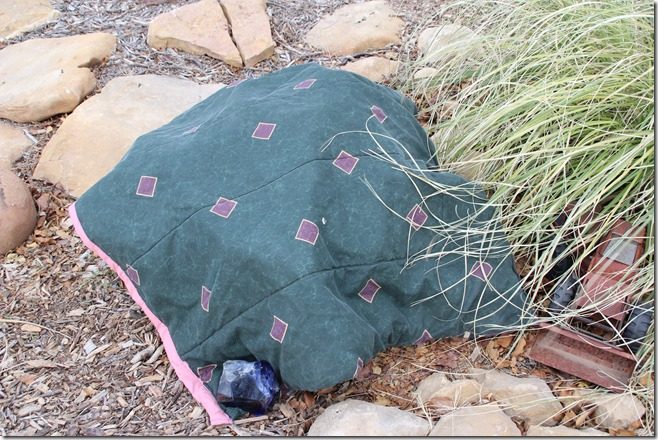
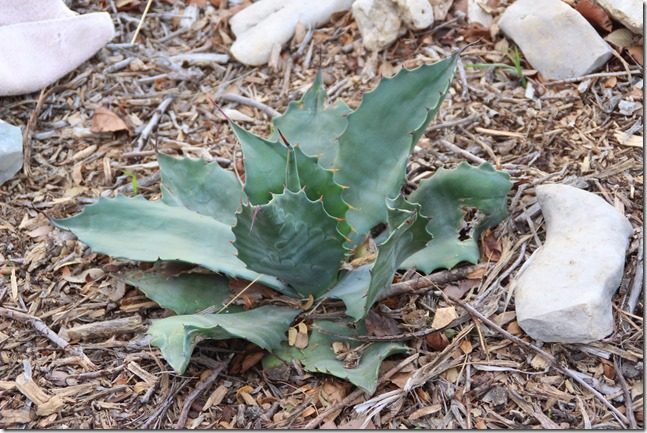
Then I came across a nice thick comforter/bedspread at the thrift shop, probably queen-size, and I bought that for $5 to use on one of the larger agaves. Which worked as far as cold protection, but it was just too big and cumbersome to work with easily, especially on windy days. Then I had the bright idea to cut it up into smaller, more usable sizes. I laid it out flat on the ground, folded it over in half and cut down the fold. Then I folded each half over and cut again. Now I had four pieces of reasonable size to work with. I dug out remnants from my sewing drawer and found fabric to turn into to seam binding since the raw edges where I cut needed to be closed so the whole thing wouldn’t fall apart. This agave ovatifolia is supposed to be reasonably cold hardy, but I could tell it was suffering from some of our harsher winters a few years ago and decided to cover it, and I was right. It has been much happier at the end of winter when it has had some protection.
So it was one of the plants that had the benefit of one of the finished squares of the comforter. Protection doesn’t have to be air-tight; which is not a bad thing, but as long as the crown of the plant and most of the leaves are covered, it will come through the cold just fine.
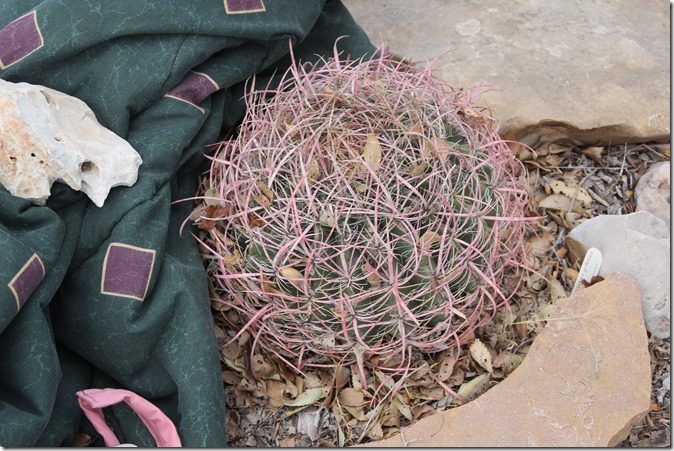
I also like the comforter for cactus because the spines don’t seem to get hung up in the fabric as much as knitted and crocheted covers, for obvious reasons. But even the loops in the fabric of some terry cloth are problematic.
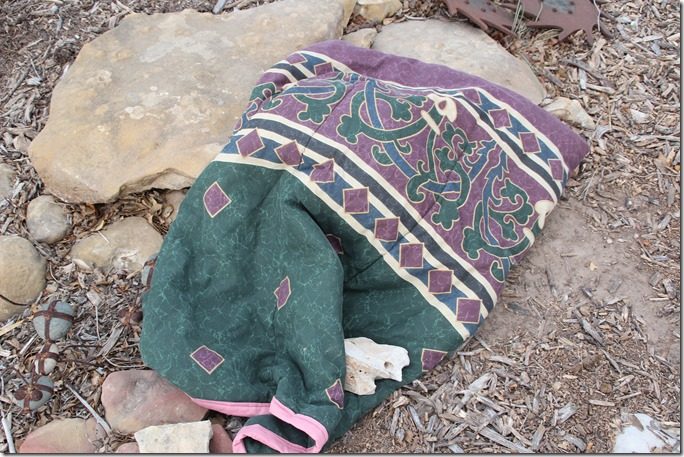
It’s always a good idea to weight a corner of the cover down with a rock or something else heavy that is handy just in case our West Texas wind is part of the cold front.
Then I had the bright idea that I should get another comforter at the thrift shop and cut it into smaller pieces for the smaller plants that I had been using towels and such on. So off I went to the thrift shop and came home with a smaller comforter, probably one meant for a twin or double bed, not quite as high-quality as the first one, but certainly usable.
After cutting it up and finishing the cut edges on one piece, it dawned on me that I should share the process with you. I never seem to have these inspirations at the right time, like before the first step of the process so I can show you step by step what I am doing! So, for whatever it’s worth, this is what I did, just in case you, too, want to make your own frost cloth.
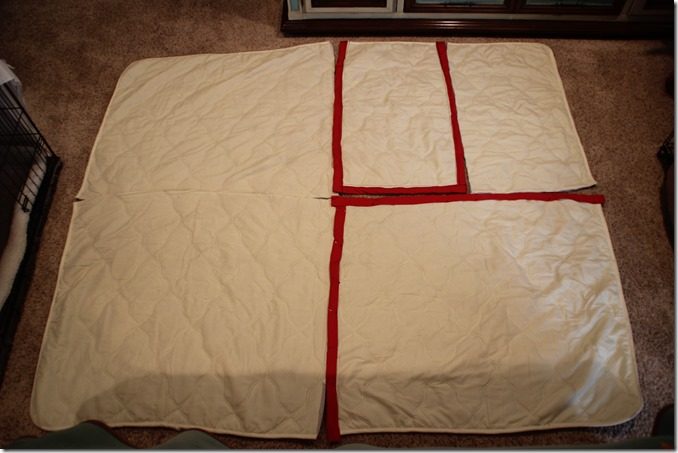
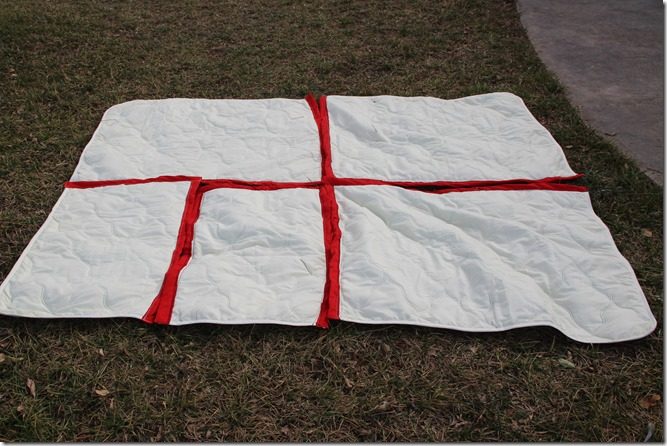
I laid out the already cut-up pieces of the comforter like it would have been before I cut it up. You can see that I will get three square pieces out of it plus the two smaller rectangular pieces for smaller plants. Because this was a smaller comforter to begin with, even the big squares are a bit smaller than the ones from the first comforter, and that’s okay; just more sizes to work with. The red material is from remnants I cut in strips to use as seam binding to finish the cut edges. Some have already been pinned or sewed on, but you still get the idea.
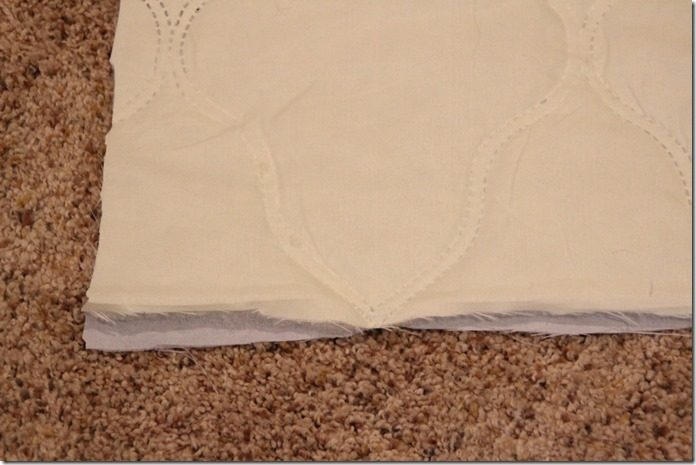
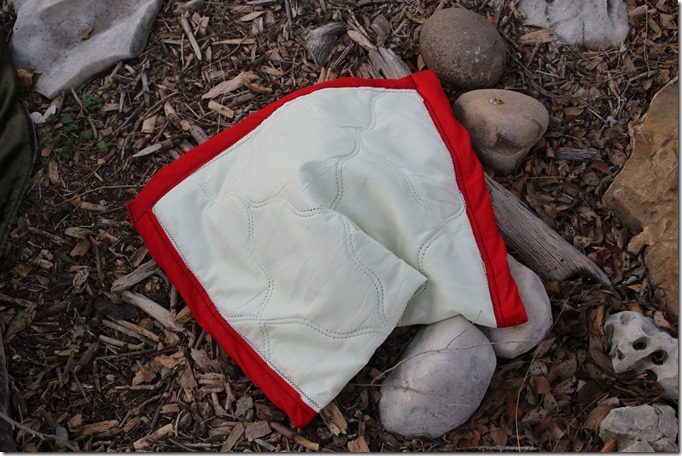
Here is one of the cut edges. You can get a glimpse of the batting inside that adds that layer of protection for the plant and you can also see I wasn’t very precise with my cutting! But for this project, cutting and sewing didn’t have to be perfect, although it would have been nice. I guess I was in a hurry to finish before winter is over this year.
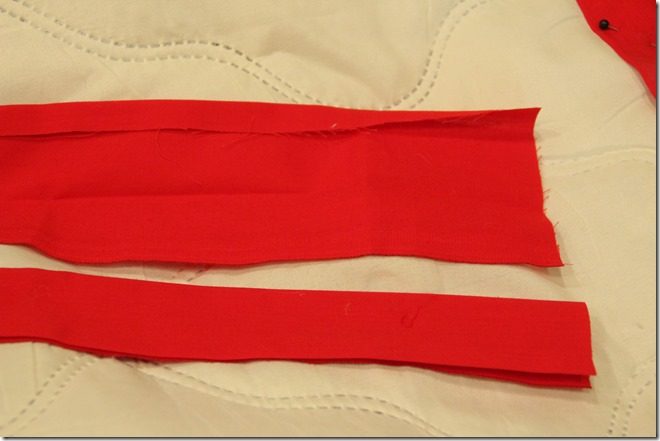
After I cut the strips of cloth to hem the edges of the pieces, I folded over the raw edge of the material and ironed it flat and then folded the whole strip in half and ironed that down because ironing into shape makes it easier to work with when you are pinning it to the edge of the cut comforter. Those of you who know your way around a sewing machine know all that; those of you who are novices like me might need that helpful hint. Material on the bolt will have a selvedge on the long sides that won’t unravel. The ends of the bolt of material where sections have been cut off for customers will be raw and the threads will fray and unravel. That is why that edge needs to be folded under and sewed down to protect it from fraying.
I pinned the seam binding on the edge of the pieces and sewed with zig-zag stitch, more than once on both sides to make sure I caught all the seam binding in the stitching. My stitching was not perfect, but surely it will be, as my grandfather was known to say, hell for stout, so I shouldn’t have to mend and repair the covers for quite a while, maybe never.
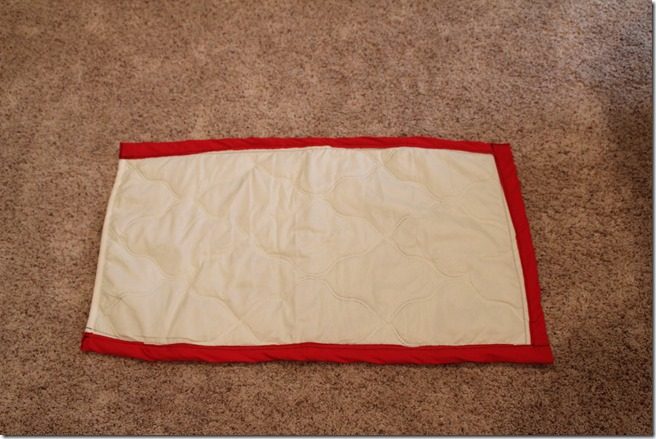
After I finished all the pieces, I took them outside and laid them out again so you could see how the comforter turned into five usable covers.
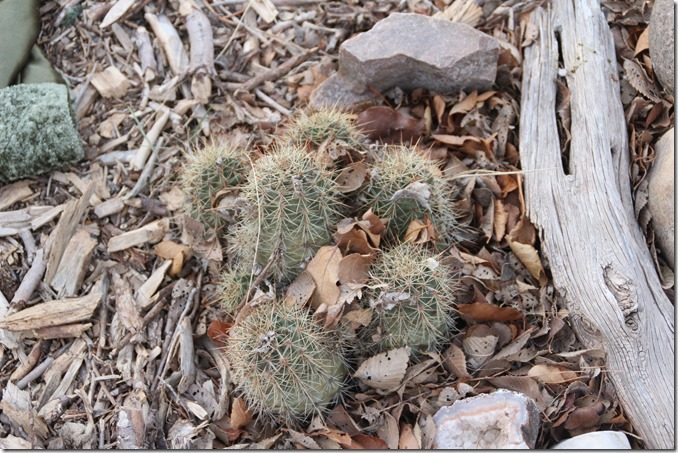
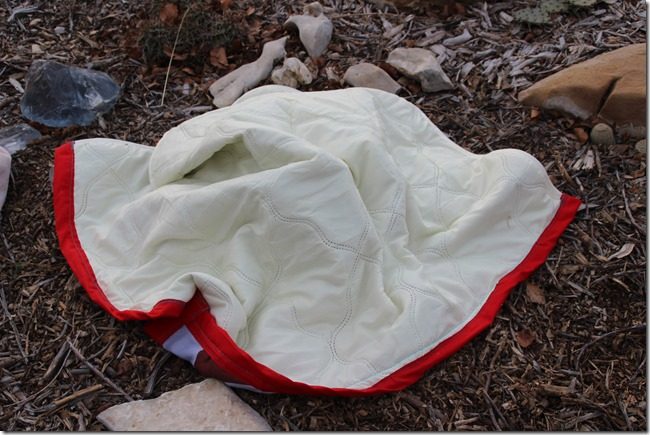
All done, I took one of the smaller pieces and tried it out on a small clump of hedgehog cactus and immediately folded it over, doubling it. I may have discovered that rectangles may not be the best shape for these covers. But doubling it does give the plant more protection, and the rectangle gives me a shape option if I have cactus in a line to cover.
Then, after all my hard work, I discovered there is something out there you can buy called frost cloth! So of course, I went right out and bought a piece to see how my homemade covers would compare. The product comes in various sizes, a 6-foot round piece, a long rectangular piece, and I think some others, none of which would really fit my needs. I would have to cut and modify it, too. I will have to admit I have not even taken it out of the package and covered anything with it. Had plenty of my own out in the garden in use already. The package doesn’t say what it is made of, but it looks and feels like some sort of thin cloth treated to repel moisture, which is important in protecting the plants. We have had such a dry winter that there really hasn’t been a wet cold spell or snow that would have been a good test for it to compare to my already tested homemade covers.
So this is what I have learned from my DIY project. Making your own covers is cheaper than buying the frost cloth, but it does take a little time. Higher quality comforters will be made of material with a tighter weave and thicker batting inside that will repel moisture better and provide more warmth. It will be a little heavier and in most cases stay on the plant better, but it is still a good idea to weight a corner or two down with a rock or something, just in case. You can customize the covers to the sizes that work best for the size of the plants you need to protect.
You can still use buckets and boxes along with small towels and such for smaller plants. If the covers do get wet, they can be laid out to dry during the warm part of the day so they are ready to use again that night when the temp drops to freezing and below.
If the covers stay on the plant a day or two because it is still freezing, the plants will still make it okay. I know this because about three or more years ago when we had what everyone called the Goliath blizzard a five-foot snow drift covered an overturned bucket on a cactus for about two weeks. When the snow finally melted enough for me to even see that bucket, I took it off and the cactus was just fine, is still alive and well, and blooms every year for me. Cloth covers, well, any kind of cover, will also be successful because the snow tends to insulate the plant and protect it.
Making seam binding out of remnants of material and not worrying about the color of the thread allows you to use up what you have on hand and not be wasteful. Think of it as quilting for cactus. Quilts, by the way, might be an option to cut up, but they tend to be much heavier on the plant, which is not always good, and I suspect would soak up way too much moisture. And it would be a shame to cut up a good quilt, considering all the work that goes into making them.
The experts might disagree with me on the conclusions I’ve drawn from my experiences with homemade covers, and you might not be willing to go to the trouble, but I am very happy with my homemade frost cloth.
The plants seems happy with the results, too.
Thank you! I’m in Michigan and I’m looking to give my lavender plant some protection this year.
Your words inspired me.
Glad I was helpful! Hope it helps.