Well, we made it through without having to consult a lawyer! Forty-one days later, give or take a few days for packing up, unpacking, and re-hanging pictures, and we now have a fresh, clean, new look to the heart of the house. And Bill likes it more than he thought he would. I think he has even grown accustomed, if not fond, of the pesky turquoise bookcase and cabinet he was not so sure about in the beginning. I was going to share before and after pictures with you, but on viewing the before pictures I realized I did a really bad job of taking them; you may get more after shots to view with nothing to compare. Then when I started taking the after pictures, I also realized we really aren’t through just yet. The area rugs aren’t in, the new sink and faucet are still sitting in their boxes, and putting the pictures back up on the wall? Well, that’s a work in progress. I get really anal when forced to put a nail hole in those beautiful, textured, freshly painted walls. I agonize over where each picture will be hung. What if I change my mind and have to move it? So let me give you a less than perfect tour.I am purposely leaving out bare walls, but you will get the general idea. 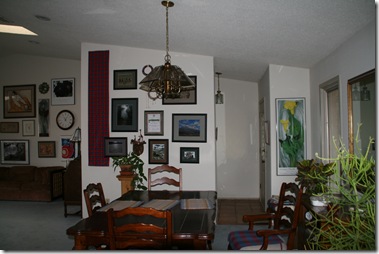
The entry before. 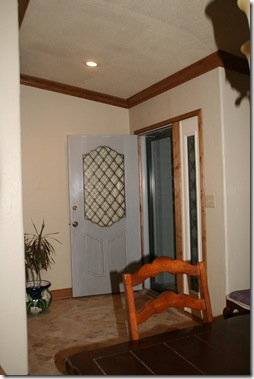
The entry after. 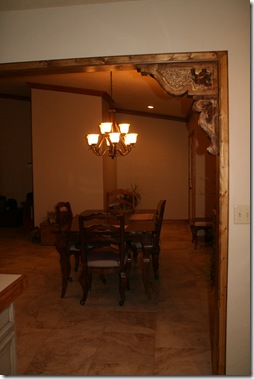
This is also the entry, and even though it is a bit dark, you can see the area has been widened because we knocked out part of a closet and added a floor-length window beside the door. Oh, yes, there’s one more thing not completely finished. The front door still needs to be painted. 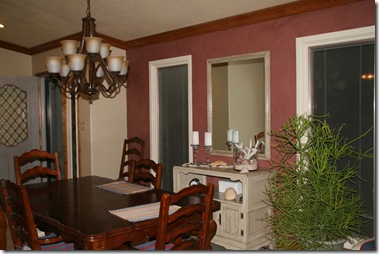
Here you can see the new light fixture and the freshly painted server and mirror that were Mother’s. And you can see the one wall of color we added. 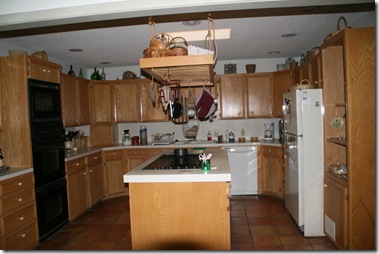
The kitchen before. 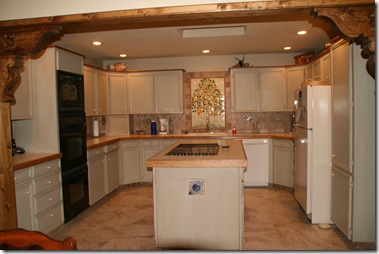
The kitchen after. Note that the pot rack is gone, a tile backsplash has been added, wood trim added on edge of counter and top of cabinets, a ceramic mosaic tile picture took the place of cabinets and shelves over the sink, and of course the color changed. 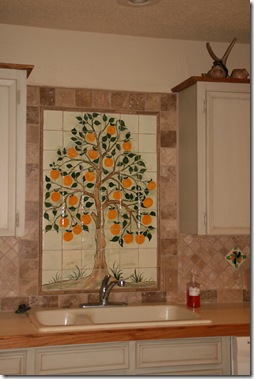
Close-up of the mosaic tile picture. Bill’s mother was a decorator, and we carted around five boxes of tiles for her for years, not knowing what we really had. Hellen figured out that each box was its own picture, and this is one of them. 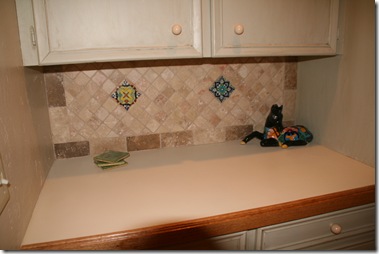
This is still not the greatest picture of the backsplash, but I wanted to show you a close-up of the tile. I really like it and am trying really hard to keep the counter clean of clutter so it shows up nicely. In fact, after I purged the cabinets of unused items when we moved back into the kitchen, I now have space to put things in the cabinets that should have in a cabinet in the first place. I highly recommend the purging process. 
The living room and bookcase before. 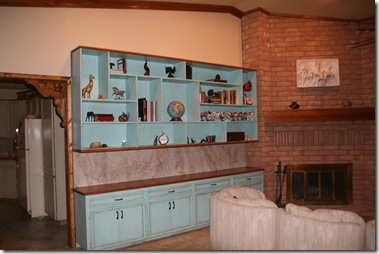
The living room and bookcase after. Note the backsplash is the porcelain floor tile, the crown molding is new, and the wood counter and mantle are stained to match the corbels and capitals marking the passageways between the kitchen and dining area and living room and patio. 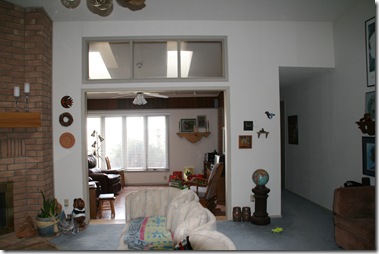
Looking into the patio before. 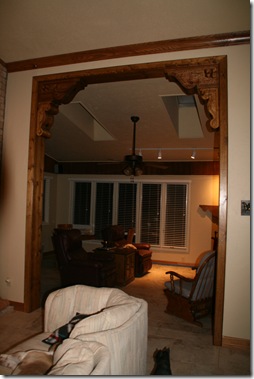
Looking into the patio after. I took this picture at night, not the best choice of timing, but you can see the corbels and capitals in the corners of the entryway and that the three square windows are gone. 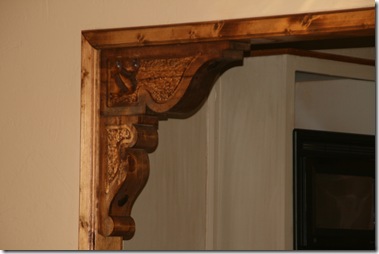
The corbels and capitals in the corners of the room passageways really change the look of things. Fred Lopez and his son Rick of Clovis designed them. Now I can say the style of our house is Contemporary Southwest. Okay, so there you are. I left out some views and didn’t show much of the patio, or the nice tile backsplash and fresh paint job in the utility room, but you get the picture. In a month or so things will look even better because pictures will be up, the shelves will be a bit fuller, and more plants will have been moved back in, but it was time to have closure on our adventure in remodeling. Yes, and now comes the adventure of the garage sale of all those things I purged out of the kitchen, the closets, the attic, the barn…
Looks great! I love it!
Thanks! The area rugs are to be picked up on Saturday, and I plan to start hanging pictures on the big wall Sunday. So it is coming together.